Your How to do stickers on cricut images are ready in this website. How to do stickers on cricut are a topic that is being searched for and liked by netizens today. You can Download the How to do stickers on cricut files here. Find and Download all free photos.
If you’re looking for how to do stickers on cricut images information connected with to the how to do stickers on cricut interest, you have pay a visit to the ideal blog. Our site always gives you suggestions for seeing the maximum quality video and image content, please kindly surf and locate more informative video articles and images that fit your interests.
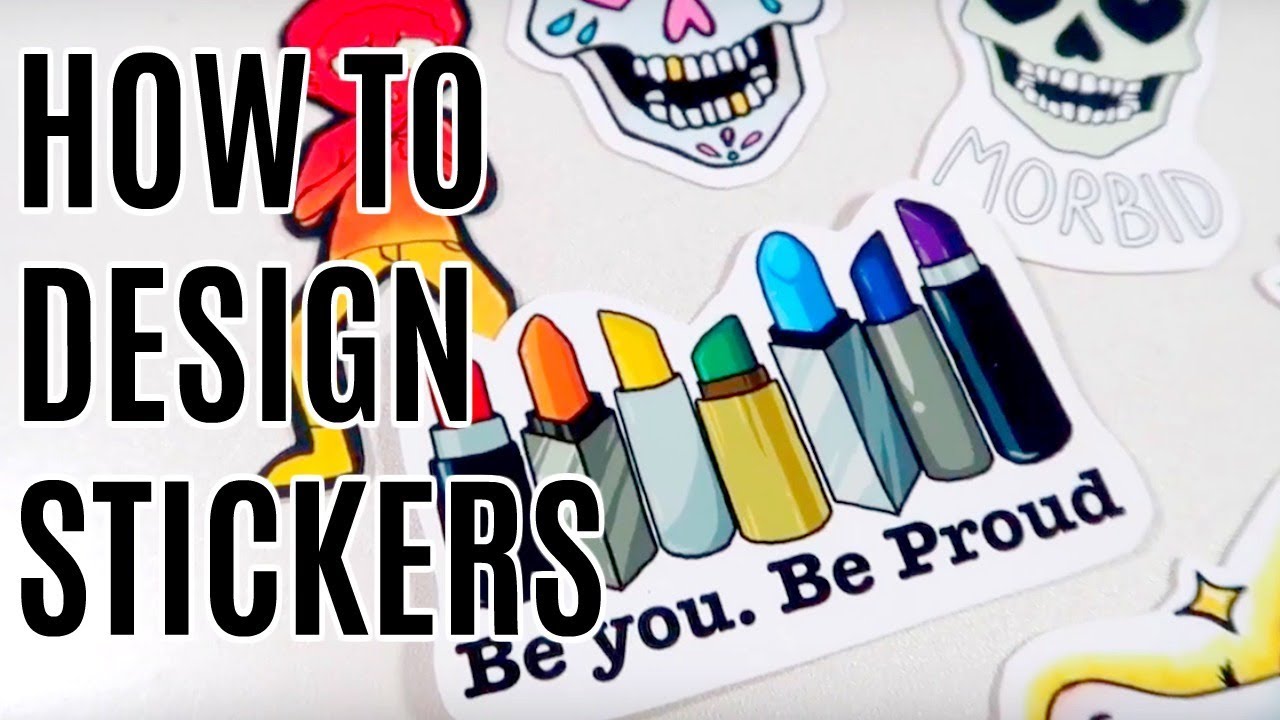
How To Do Stickers On Cricut. How To Make Stickers With Cricut SUPER QUICK EASY - YouTube. How to Make Stickers with Cricut Hobbycraft Watch later Watch on Step 1 Start by opening up the Cricut Design Space app and starting a new canvas. Read more Step 2 Next click Make It. If youre wondering how to make fantastic stickers using a Cricut Machine here are four easy steps for you.
 How To Make Planner Stickers With Cricut 7 Free Templates How To Make Planner Cricut Sticker Paper Planner Stickers From pinterest.com
Print and cut return address labels. Design your awesome sticker choosing among the great templates provided. Create an account on the Cricut Design Space application. Step 2 Add Colors and Patterns. Ill show you how to make a. The process for making stickers in Cricuts design space is the same no matter what printer you have.
Join a crafting community through a private Facebook group get access to hand drawn SVGs for personal and commercial use and double entry to giveaways.
Open a new canvas and then upload the top layer into Cricut Design Space. If youre wondering how to make fantastic stickers using a Cricut Machine here are four easy steps for you. Send to printer and print on printable vinyl. While its connecting we are going to print our stickers as you can see from the prompts in Design Space. How do you make vinyl stickers with Cricut. We will cover that later.
 Source: pinterest.com
I recommend you print on Normal or Best setting if you have that option. Line the sticker sheet up in the left corner of either a green standard grip or blue light grip mat and load the mat into your Cricut machine. Click on Send to Printer and then a pop-up window will appear. How To Make Stickers With Cricut SUPER QUICK EASY - YouTube. Changing the color of it to accurately represent how it will look is optional.
 Source: pinterest.com
Line the sticker sheet up in the left corner of either a green standard grip or blue light grip mat and load the mat into your Cricut machine. In this tutorial Im going to explain how to make Print then Cut stickers with and without the new offset feature in Design Space. Line the sticker sheet up in the left corner of either a green standard grip or blue light grip mat and load the mat into your Cricut machine. You will see that you design has been placed inside a lined black box. Read more Step 2 Next click Make It.
 Source: pinterest.com
Make sure it is to the scale of the size you desire for the sticker. Use this same technique to make address labels for the recipient too just using a larger size rectangle. Click make and then follow the steps that your machine is giving you. Join a crafting community through a private Facebook group get access to hand drawn SVGs for personal and commercial use and double entry to giveaways. Its time to add color to your stickers.
 Source: ar.pinterest.com
If youre wondering how to make fantastic stickers using a Cricut Machine here are four easy steps for you. Click Make It click the green Send to Printer button make sure Bleed is on then send your stickers to the printer. To fit more on the sheet. Line the sticker sheet up in the left corner of either a green standard grip or blue light grip mat and load the mat into your Cricut machine. I like to turn the bleed off and turn system dialog on.
 Source: pinterest.com
Just be sure that none of them are touching. Create an account on the Cricut Design Space application. Upload Top and Bottom Layers into Cricut Design Space Download the free layered stickers from my Free Library or create your own in Procreate. Use the offset tool to add a shadow layer. When your stickers are all arranged hide or delete the rectangle as.
 Source: pinterest.com
You can either upload your own designs for print and cut find print and cut images. And System Dialog button on. The process for making stickers in Cricuts design space is the same no matter what printer you have. Step by Step Tutorial Make Stickers with your Cricut Step 1 Create a Sticker Sheet Layout. While its connecting we are going to print our stickers as you can see from the prompts in Design Space.
 Source: pinterest.com
Send to printer and print on printable vinyl. We will cover that later. Design your awesome sticker choosing among the great templates provided. Design stickers in Cricut Design Space using images from Cricut Access or uploaded images. While its connecting we are going to print our stickers as you can see from the prompts in Design Space.
 Source: pinterest.com
Open a new canvas and then upload the top layer into Cricut Design Space. Choose your monochrome design choice and upload it into Cricut Design Space. Arrange your stickers in the most efficient way on top of the rectangle. Enjoy making a bunch of pretty stickers for your planner where the cut lines are outside of the graphics. Upload Top and Bottom Layers into Cricut Design Space Download the free layered stickers from my Free Library or create your own in Procreate.
 Source: pinterest.com
Choose your monochrome design choice and upload it into Cricut Design Space. Enjoy making a bunch of pretty stickers for your planner where the cut lines are outside of the graphics. While its connecting we are going to print our stickers as you can see from the prompts in Design Space. Turn on your Cricut machine. Click on Send to Printer and then a pop-up window will appear.
 Source: br.pinterest.com
I like to turn the bleed off and turn system dialog on. Upload Top and Bottom Layers into Cricut Design Space Download the free layered stickers from my Free Library or create your own in Procreate. Upload Top Layer and Bottom Layer PNG Designs and Save as Complex. To fit more on the sheet. Your sticker sheet will print with a black rectangle around them – this is your Cricuts registration mark and it needs to be there.
 Source: pinterest.com
Think how cute custom return address labels will be on your Christmas cards or invitations. You dont have to arrange the sticker on the page. Get the printed sticker sheet from the printer. You will see that you design has been placed inside a lined black box. We will cover that later.
 Source: pinterest.com
If you didnt do this in the first step create a rectangle that is 675 W by 925 H. You dont have to arrange the sticker on the page. Read more Step 2 Next click Make It. Select both the image and offset layer and Flatten. I show you how in this post.
 Source: pinterest.com
And System Dialog button on. Upload Top Layer and Bottom Layer PNG Designs and Save as Complex. Click make and then follow the steps that your machine is giving you. We will cover that later. You can resize rotate etc.
 Source: es.pinterest.com
We will cover that later. The process for making stickers in Cricuts design space is the same no matter what printer you have. To fit more on the sheet. Step 2 Add Colors and Patterns. Click make and then follow the steps that your machine is giving you.
 Source: pinterest.com
Can Cricut do address labels. We will cover that later. Your Cricut will now connect to your machine over Bluetooth or USB. I like to turn the bleed off and turn system dialog on. Create an account on the Cricut Design Space application.
 Source: pinterest.com
Enjoy making a bunch of pretty stickers for your planner where the cut lines are outside of the graphics. Cricut will do that automatically. Choose your printer and set to photo paper and best print in your printer setting page popup. Upload Top Layer and Bottom Layer PNG Designs and Save as Complex. I show you how in this post.
 Source: pinterest.com
Open a new canvas and then upload the top layer into Cricut Design Space. Its time to add color to your stickers. Select both the image and offset layer and Flatten. Making stickers with a Cricut Machine is fun and easy and its now even easier with the offset feature. Design stickers in Cricut Design Space using images from Cricut Access or uploaded images.
 Source: pinterest.com
Choose your printer and set to photo paper and best print in your printer setting page popup. Design your awesome sticker choosing among the great templates provided. Youll notice a black line goes all the way around the stickers this is what Cricut uses to read and calibrate where your stickers should be cut. Step by Step Tutorial Make Stickers with your Cricut Step 1 Create a Sticker Sheet Layout. Put your design onto a blank canvas in Design Space You can use clip art things from Design Space your own files you uploaded and even photos.
This site is an open community for users to do submittion their favorite wallpapers on the internet, all images or pictures in this website are for personal wallpaper use only, it is stricly prohibited to use this wallpaper for commercial purposes, if you are the author and find this image is shared without your permission, please kindly raise a DMCA report to Us.
If you find this site good, please support us by sharing this posts to your preference social media accounts like Facebook, Instagram and so on or you can also bookmark this blog page with the title how to do stickers on cricut by using Ctrl + D for devices a laptop with a Windows operating system or Command + D for laptops with an Apple operating system. If you use a smartphone, you can also use the drawer menu of the browser you are using. Whether it’s a Windows, Mac, iOS or Android operating system, you will still be able to bookmark this website.